
If you can sew a straight line, you can make this apron. You'll need less than a yard (maybe 3/4?) of adorable girly fabric and some ribbon. My apologies if you are a perfectionist, I don't have any measurements for you.
Start by cutting two rectangles out of your fabric. One small one for the upper piece, and one wider one for the skirt piece. Eyeball it, it'll be good for you. Like this.

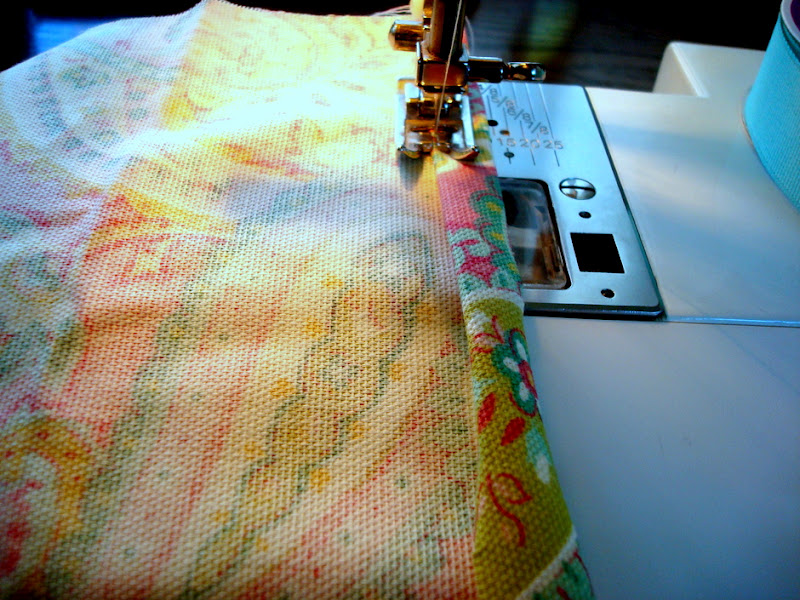
Next, folding the edge of the fabric inward twice, sew down three sides of each rectangle.
Now you should have pieces that look like this. The unfinished edges face toward each other.

If you want to add a pocket or any embellishment to the skirt or top, now is the time to do it. I decided to add a contrasting pocket. I cut out my pocket, using the fold of the fabric as the top (to save me an extra step) and stitched around it, right sides together, leaving a small opening for turning it inside out.


I stitched a straight line across the top, pulled on the strings to gather it a little, and added a ribbon on top. Sew it down, but make sure you don't sew the top of the pocket closed! It's a good idea to do a little back-and-forth stitch at the corners of the pocket so it's secure.

Now it's time to sew the apron together. Pin the two unfinished edges of the top piece and the bottom piece of the apron together, right sides together. I pinched a few sections of the skirt piece when I pinned it to add some pleats.

Sew those together and open it up, it's starting to look like an apron! Now it's time to add the ribbon. Cut a section of ribbon long enough to wrap around a little waist and tie a bow. Fold it in half to find the center, then lay it on your apron, covering the seam you just made. Cut another piece of ribbon long enough to go around a little neck (I just use my own to measure).

Pin the ribbon down in a few places and start sewing, starting at the unfinished edge of the apron skirt, taking care to catch the fabric in your stitch. I sewed along the top and bottom of the ribbon. At the top, sew the ribbon to the back of the apron, back and forth a little to make sure it's secure. Now everything's in place! To keep the ends of your waist-ribbon from fraying, hold a flame close to the edge until you see the fibers curl in. Don't hold it too close or it will catch fire.
You're done!

I hope my niece enjoys baking treats with her Mom in her new apron!
No comments:
Post a Comment