
Here's how: Measure your pillow form and add a couple inches on each side to allow for seams and decorative edges, then cut three pieces of fabric: one piece for the front of the pillow and two for the back. The back pieces need to overlap in order for the pillowcase to close, so you need to add a few more inches to the width of each piece (you can't just cut the measurement in half). I added ribbon to the front of my pillow, and if you choose to do anything decorative to the front, you need to do it before you sew the back pieces on. I've been waiting for the perfect opportunity to use this adorable ribbon!!


Hem one short edge of both back pieces. Next, pin the back pieces, hemmed edges facing each other, overlapping, right sides together to the front piece and sew. No need to leave an opening because the back has a slit for turning it inside out and getting the pillow in.

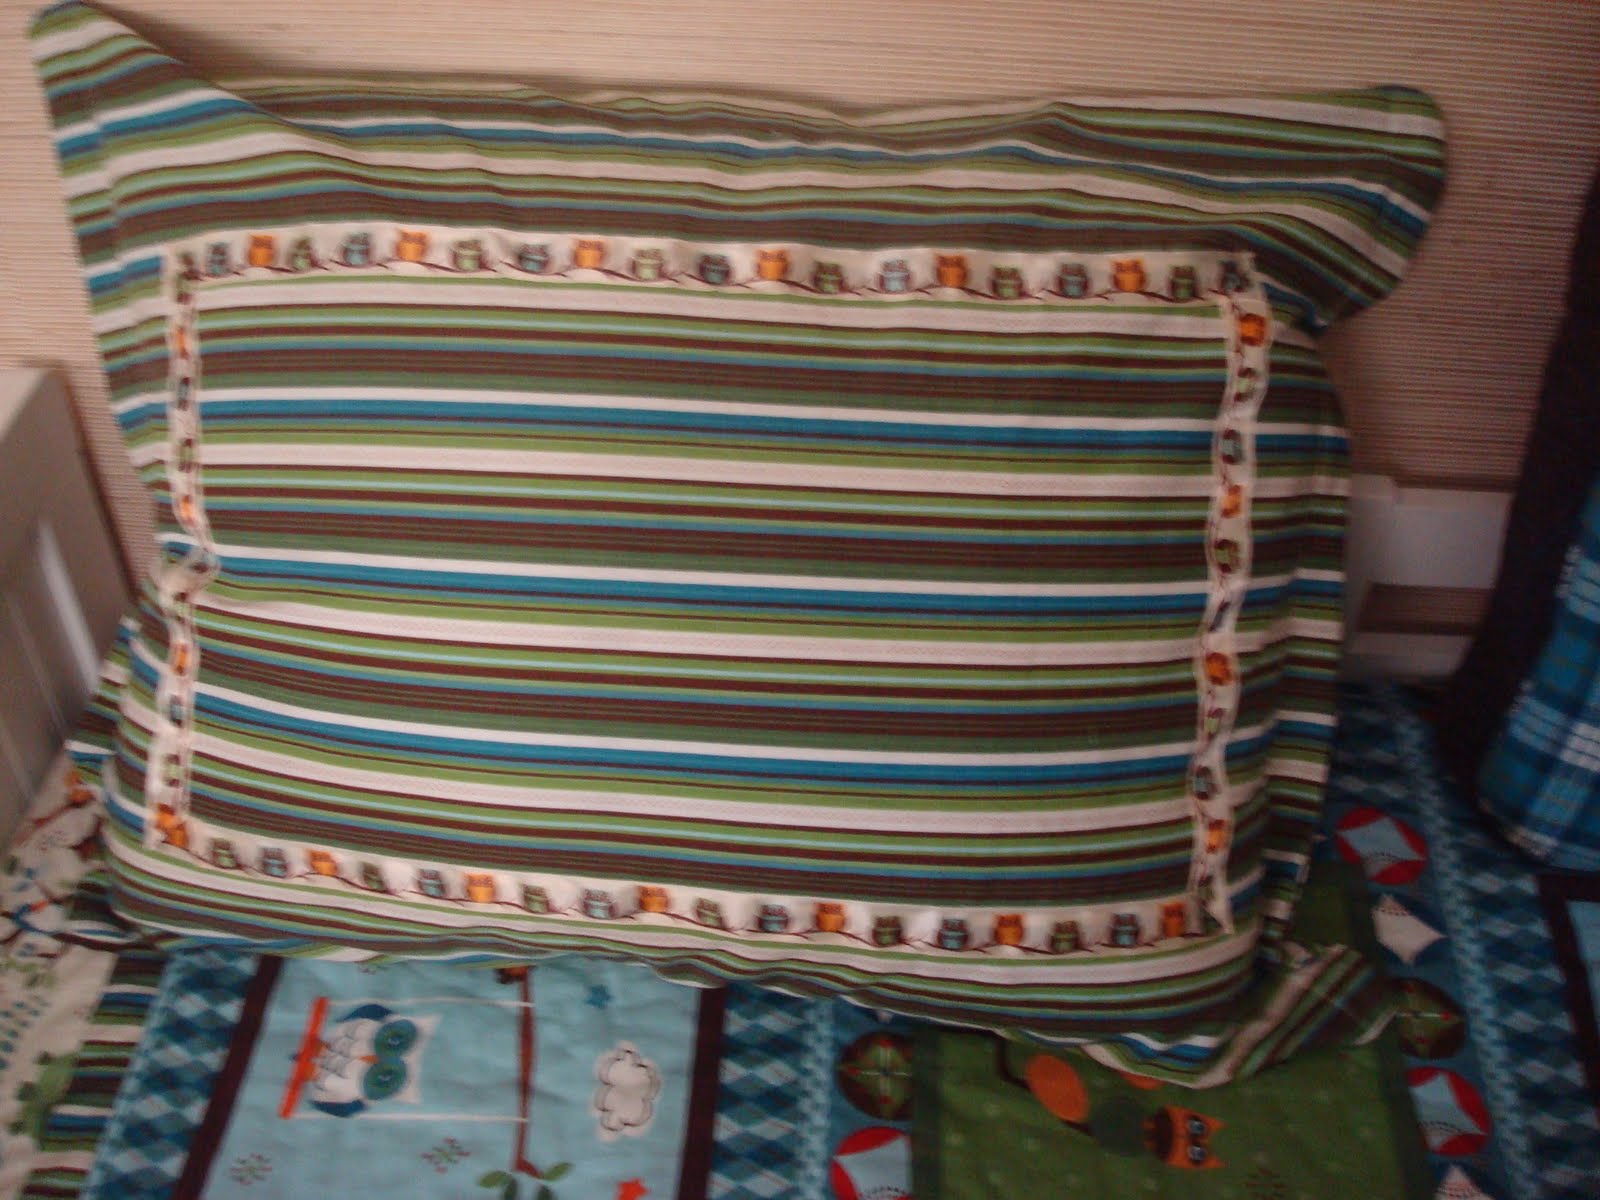
Once you've sewn it all together, turn it inside out using the slit in the back and try it on your pillow form. I always make sure to do this because, even though I measure, there is not always as much room as I anticipated. If you do have plenty of room at this point, take the pillow out and turn the pillow-case right-side out. Sew a one-inch border around the whole pillow-case. I only ended up with enough room on this one to make a border on the edges and not on top and bottom but oh-well! Here is my finished product.

(sorry for the fuzzy pictures)
These are two more of the same style pillow-case that I made for my couch awhile back.


So easy!! Try it! Tell me how it goes!
No comments:
Post a Comment